Decorating Bottles: 7 Ideas To Test Your Creativity
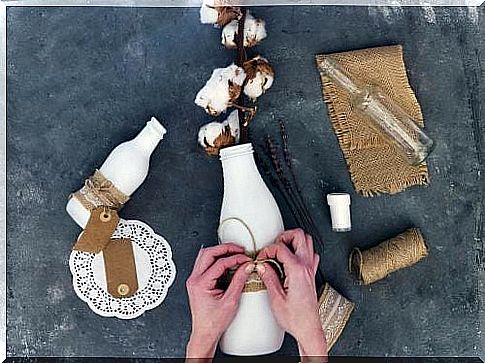
Reusing an object essentially means reviving it with a new function. For this reason, decorating the bottles is a great example of creative recycling.
Every year, the volume of garbage and pollution increases. Separating it to use as much material as possible for recycling is an important gesture for us and for the environment.
In this way we prolong its life, postpone the elimination and help reduce the volume of the garbage.
The impact on the environment will be minimal, but it is a direct and positive gesture that allows you, moreover, to earn a new original object decorated with your hands and your imagination.
One of the most suitable waste for this purpose are plastic and glass containers, resistant and versatile.
Before throwing them away, take a look at our proposals for decorating the bottles : they could become a beautiful object to give as a gift or for your home.
1. Decorate the bottles with paint
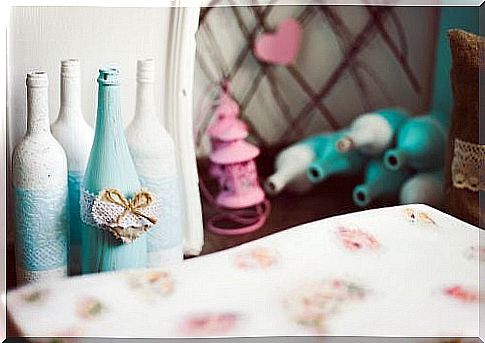
This technique allows you to use your imagination and choose the design you like best.
You can decorate the bottles with a naive, ethnic or Christmas motif, in anticipation of the holidays. The necessary material is cheap and the result is fun.
Required material:
- Glass bottle
- Acrylic paint or nail polish
- Masking tape of paper
- Scissors
- Brush
Method
- First, wash the bottle thoroughly, inside and out.
- Then, remove the label and glue residue with hot water.
- When it is clean and dry, use masking tape to mark the areas you will cover with the color. You can also cut the tape in half to create thinner lines.
- Put some of the acrylic paint you have chosen in a container and start decorating the bottle with a brush. Use the enamel for the details.
- Let it dry and, if necessary, apply a second coat of paint.
- When the color is completely dry, gently peel off the masking tape.
You have created a beautiful decorated bottle: use it as a flower holder or ornament.
2. Blackboard bottle
We offer you a fun and original idea, to write and erase at will on the bottle.
You can write your name, a family member’s name, a message or a witty word. To you the choice!
Required material:
- Glass bottle
- Black chalkboard effect paint
- Brush or small roller
- Chalks
Method
- Wash the bottle and peel off the label.
- Apply several coats of black chalkboard paint. Leave the necessary time for drying between one pass and the next. You can use a brush or a small roller.
- When the paint is completely dry you can write on it with chalks.
- To erase the chalk mark, use a sponge or a slightly damp cloth.
These bottles give an original touch to the home. Use them as a centerpiece: you can arrange flowers, branches or a candle.
3. Magic lamp
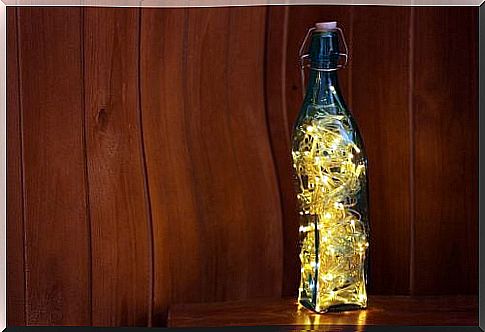
Decorating bottles is a creative and interesting activity. Proof of this is the magic lamp, which will bring a pinch of imagination to the home, to the terrace or to any space that requires a touch of light.
By inserting the Christmas lights inside a bottle we obtain a lamp with a soft light. The effect is romantic and intimate.
Required material:
- Glass bottle, preferably a large bottle
- Cord with Christmas lights
- Scotch tape
- Drill
- Sandpaper
- Safety protections to wear during drilling: goggles, mask and gloves
Method
- Remove all labels from the bottle, wash it until the surface is smooth.
- Place two strips of masking tape on the bottom of the bottle to create an x. This is to mark the point where you will make the hole with the drill (which will later be used to pass the cable with the lights). Cover the cross with two more pieces of masking tape.
- Very carefully and taking the appropriate safety measures, start drilling the bottle with the drill bit. Don’t exert much pressure, just puncture the bottle where the two pieces of tape meet.
- Once the hole is finished, remove the roughness and residues from the edge with the sandpaper.
- Rinse the bottle and let it dry: it will help you remove the last glass residues.
- Gently introduce the lights into the bottle. Go through the original opening, inserting the plug first.
- Help yourself with a Chinese stick to push all the wire to the bottom.
- The goal is to get the socket out of the hole made with the drill. The rest of the lights remain in the bottle.
If this job seems overly complicated to you, you can choose not to open any holes.
In this case you simply have to insert the cable into the bottle, leaving out the plug to be connected to the current.
4. Decorate the bottles with Japanese masking tape
Japanese masking tape, or washi tape, is a very practical decorative accessory.
You can buy it in home improvement stores or on the internet where you will certainly find a great variety of designs and widths.
Required material:
- Glass or plastic bottle
- Japanese adhesive tape
- A pair of scissors
- Tape measure
Method
- Wash the bottle and peel off the label.
- With the tape measure, mark the point where you are going to place the Japanese adhesive tape.
- Fix the tape; cut it with scissors, taking care to match the two ends exactly.
- Fill the space as you like. Remember that the effect must be harmonious!
- You can cut the ribbon in half, lengthwise to get finer strips.
Once decorated, it can serve as an ornament or container for pencils, brushes, make-up accessories or other.
If you use a plastic bottle, we advise you to weight it with some stones inside, to fill about a fifth of the bottle.
5. Photo bottle
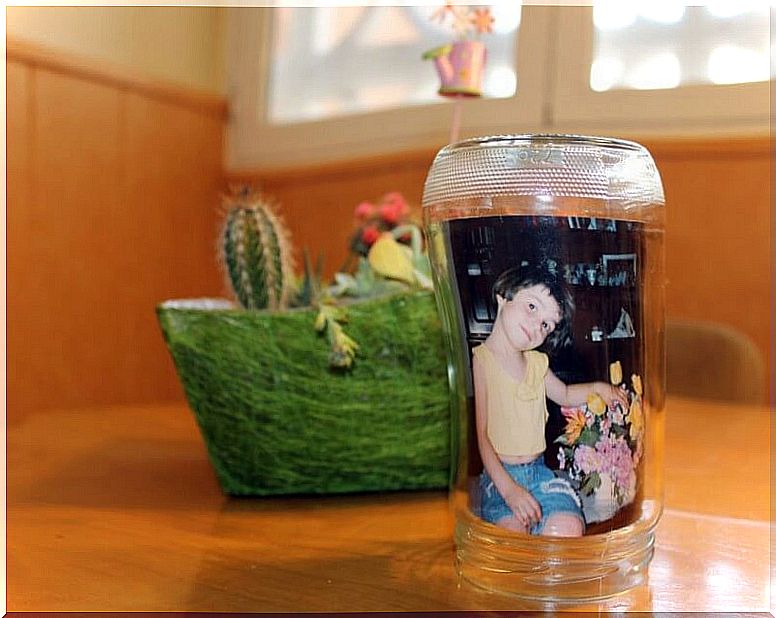
An object that cannot be missing in the house is the photo holder.
This technique allows you to customize portraits with an ingenious and eco-friendly touch that will surprise your guests.
Required material:
- Any size glass bottle or jar
- A picture
- Scissors
- Plug
Method
- Wash the bottle and peel off the label.
- Roll up the photograph so that the image is facing out.
- Insert it carefully into the bottle and let it adjust to the shape.
- If it doesn’t fit the bottle, cut off the protruding part or choose a smaller photo size.
- Close the bottle with the cap to protect the photograph from dust.
Choose a photograph in color or in black and white or sepia, for a pleasant antique effect.
You can finish the bottle with a decorative ribbon or a bow.
6. Decorate the bottles with cotton or wool thread
A simple glass bottle can become a perfect flower stand for the coffee table, a nice accessory for the kitchen or an elegant centerpiece for special occasions.
With the help of a colored ball of yarn you can obtain a great effect result in a few minutes.
Required material:
- Glass or plastic bottle
- Ball of wool or cotton
- Hot glue gun
- Scissors
Method
- To start, wash the bottle, remove the label and let it dry thoroughly.
- Then start wrapping the thread starting from the bottom of the bottle, blocking it with a few drops of glue.
- Finish at the desired point, always gluing from time to time.
- You can also alternate threads of different colors. In this case, cut the thread and glue the final part to the bottle. Do the same with the new thread.
You can always add other decorative materials such as ribbons, fabric flowers or buttons to the thread. Unleash your creativity.
7. Decorate the bottles with colored sand
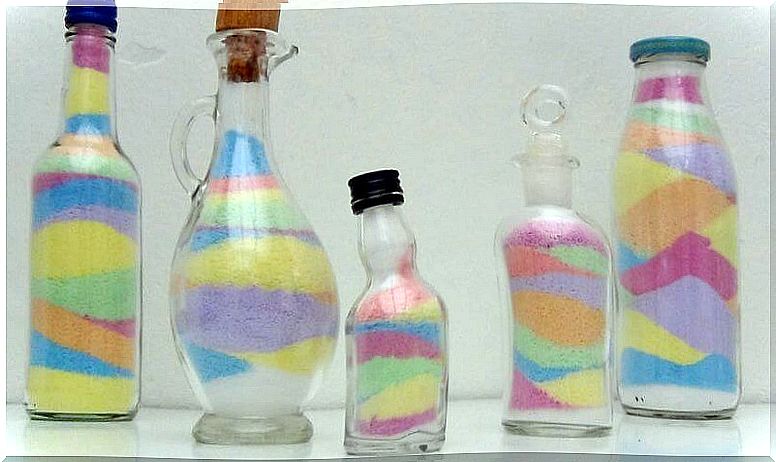
Turning a glass bottle into a beautiful colored sand composition is easier than you think.
Required material:
- Transparent glass bottles, preferably of an unusual shape and with a wide mouth
- Colored sand
- Funnel
- Wand or brush
- Metal or cork stopper
Method
- First, wash the bottle well and peel off the label.
- Then once dry, start filling it with sand with the help of a funnel.
- Then, use a flat stick or the tip of a brush to distribute the sand however you like.
- Finally, proceed by alternating the colors according to the design you have chosen.
If you can’t find colored sand in the shop, don’t worry. You can prepare it yourself with a little sand and dye. When the different colors are completely dry, proceed according to the instructions.


